Mesh grille upgrade fitting S Type 2002-3

-
Our picks
-

Fearless, exuberant, compelling - this is Jaguar reimagined
Jaguar Owners Club posted an article in News & Articles,
Fearless, exuberant, compelling - this is Jaguar reimagined
A new era begins today for Jaguar. A completely transformed Jaguar brand recaptures an ethos to Copy Nothing that can trace its roots back to the words of its founder, Sir William Lyons
Picked By
Jaguar Owners Club, -
-
Jaguar is having a Cat Nap?
Jaguar Owners Club posted a topic in Jaguar Owners Lounge,
Jaguar will end all new UK sales in November meaning no new cars will be available from the firm until its electric revival starts in 2026.
https://www.carmagazine.co.uk/car-news/industry-news/jaguar/f-pace-production-ends/
Article source: Car Magazine - Ted Welford Published: 1st November 2024-
- 3 replies

Picked By
Jaguar Owners Club, -
-

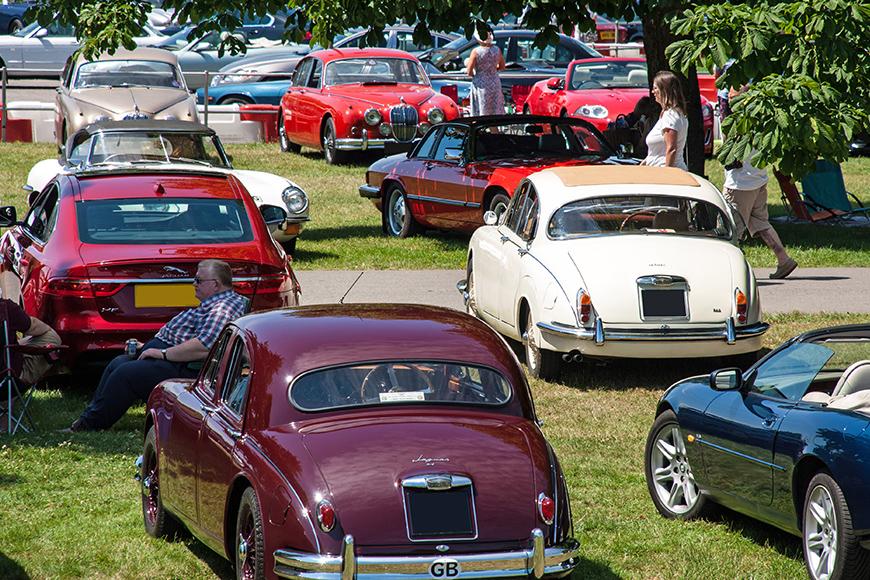
Simply Jaguar show at Beaulieu - Sunday 23rd June 2024
Jaguar Owners Club posted a topic in England Events,
Jaguar Owners Club have a stand at this year's Simply Jaguar event at the National Motor Museum at Beaulieu, Hampshire on Sunday 23rd June 2024
Tickets are available online here: https://www.beaulieu.co.uk/events/simply-jaguar/-
-
- 7 replies

Picked By
Jaguar Owners Club, -
-

Post in Event Ludlow Racecourse Shropshire 16th June 2024
Aubrey posted a post in a topic,
Not long now to Ludlow. It sold out before the event last year it is very popular.
To book a ticket in advance go to EVENTBRITE or Message me.

Picked By
Jaguar Owners Club, -
-

JAGUAR’S LAST PETROL SPORTS CAR: F-TYPE ZP EDITION TAKES THE CHEQUERED FLAG
Jaguar Owners Club posted an article in News & Articles,
Jaguar is commemorating the end of its internal combustion sports car lineage in 2024 with an exclusive limited-edition F-TYPE inspired by two iconic 1960s racing E-types
Just 150 examples of the F-TYPE ZP Edition will be the last internal combustion-engined sports cars designed by Jaguar. These 575PS supercharged petrol V8 F-TYPEs feature specially curated interior and exterior details by the personalisation experts at SV Bespoke.
Picked By
Jaguar Owners Club, -
-


Recommended Posts
Join the conversation
You can post now and register later. If you have an account, sign in now to post with your account.